Related Links
Integrate CuttingRoom with IDrive® e2
Store data with IDrive® e2 and collaborate in real-time using the CuttingRoom video editor. You can edit your videos directly from the e2 cloud storage. Learn more about CuttingRoom.
Prerequisites
Before storing your CuttingRoom data, you require:
- An active IDrive® e2 account. Sign up here if you do not have one.
- A bucket in IDrive® e2. See how to create a bucket.
- Valid Access Key ID and Secret Access Key. Learn how to create an access key.
- A valid license for CuttingRoom.
Connect IDrive® e2 with CuttingRoom
- Sign in to CuttingRoom account via web.
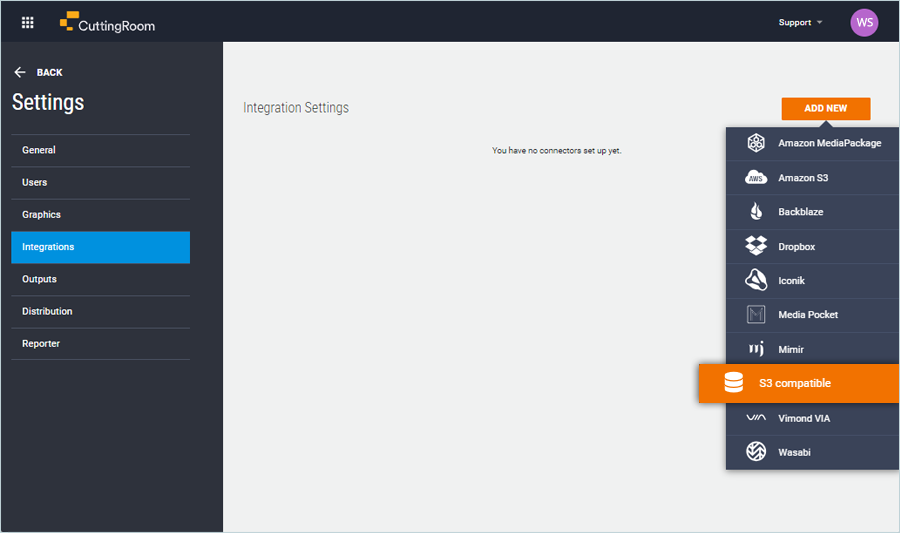
- Go to Settings.
- Navigate to Integrations and click ADD NEW.
- Click S3 compatible from drop-down to configure integration settings:
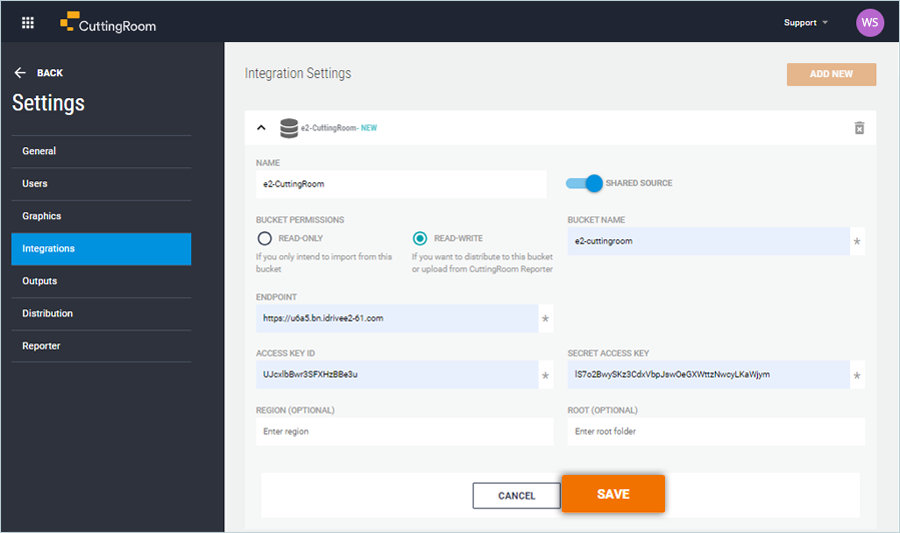
- Enter a name for the integration.
- Select Permission:
*READ ONLY: If you only intend to import from the bucket.
*READ-WRITE : If you want to distribute to the bucket. - Enter your IDrive® e2 bucket name
- Enter your IDrive® e2 storage endpoint.
(Example:https://u6a5.bn.idrivee2-61.com) - Enter your IDrive® e2 Access Key ID as Access Key.
- Enter your IDrive® e2 Secret Key as the Secret Key.
- Click SAVE.
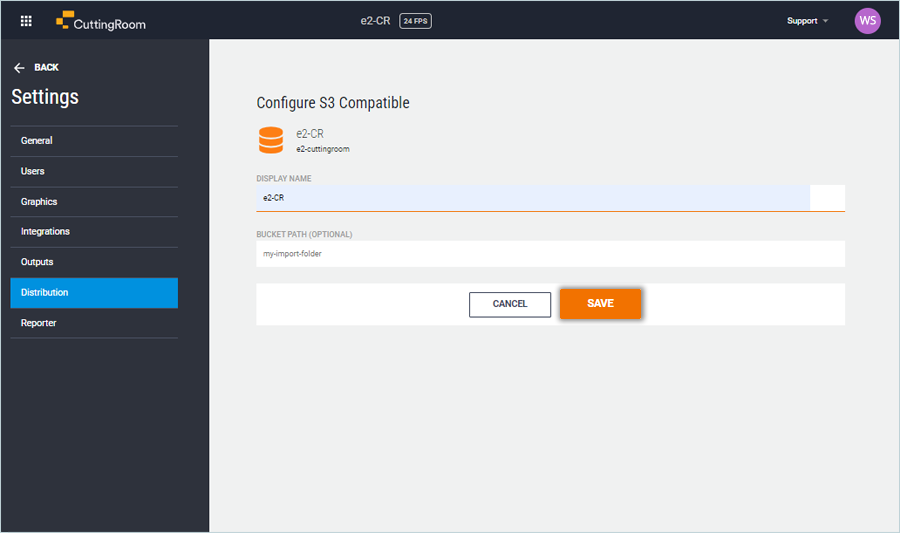
- Click Distribution from the sidebar.
- Select Integration.
- Add a name to be displayed for the distribution.
- Click SAVE.
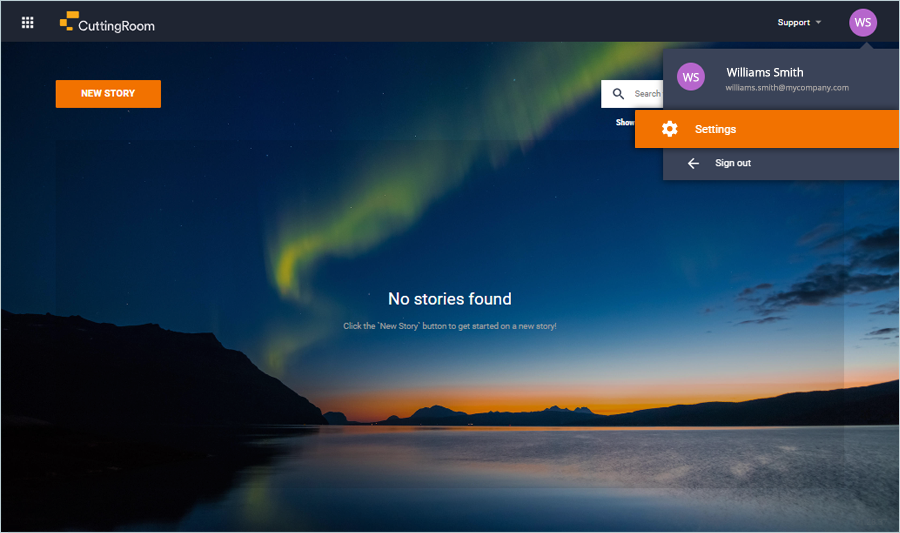
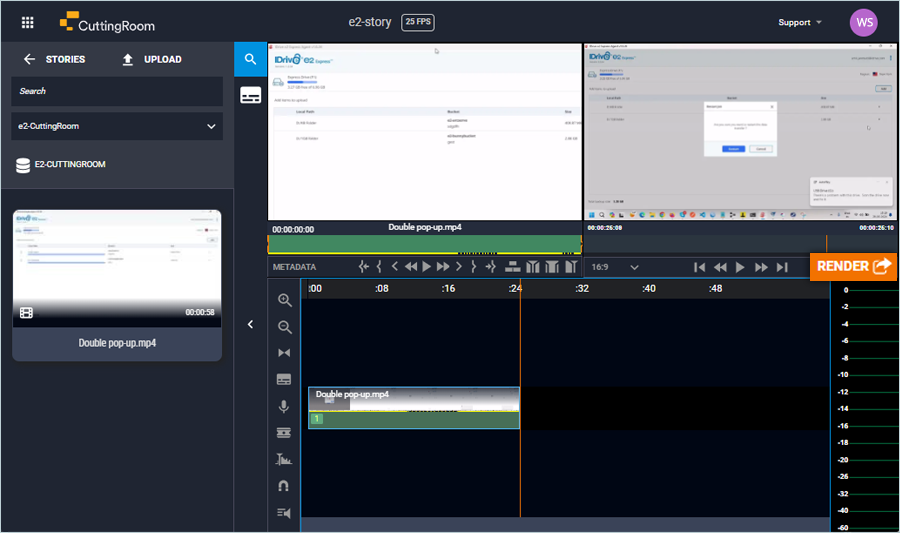
- Click NEW STORY on the home screen.
- Add PROJECT TITLE.
- Select FRAME RATE from the drop-down.
- Click SAVE.

- Select your integration from the dropdown.
Note: Files available on your IDrive® e2 bucket will be listed. See how to upload the video to your IDrive® e2 bucket. - Select a file from the list and double-click to open it.
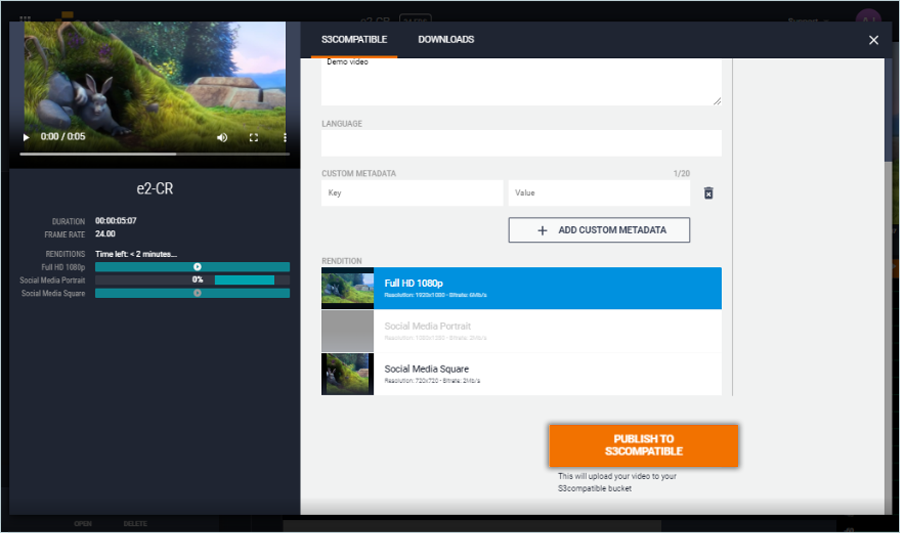
- Once the editing is done, click RENDER.
- Select distribution and click PUBLISH TO S3 COMPATIBLE.
Note: On the final screen, users can get updated videos based on their rendering requirements and publish to their cloud object storage.